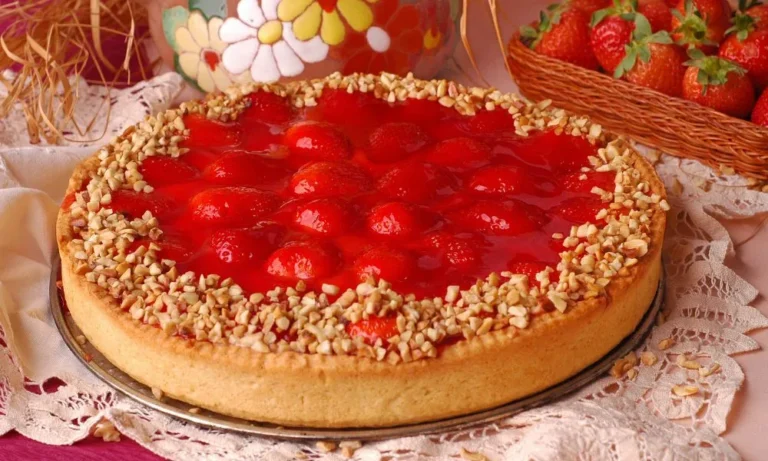
Melhor torta de morango para fazer em casa

Homemade Sugar Christmas Cookies are the star of our chat today. This phrase might sound a bit long, but it just means “Sugar Cookies Made at Home for Christmas.” It is that classic, light-colored biscuit that melts in your mouth and that we can cut into the shape of a star, a heart, or a little pine tree.
The best part is that you don’t need to be a kitchen master to make this work. With ingredients you already have in your cupboard and a little bit of patience, the magic happens.
The best part is that you don’t need to be a kitchen master to make this work. With ingredients you already have in your cupboard and a little bit of patience, the magic happens.
Many people think that buying them ready-made is easier. It might be faster, but it will never have the same taste of care. When you put your hands in the dough, you put your energy there. Plus, it is a wonderful activity to do with kids or even alone, to relax your mind after a tough year.
These cookies are special because they are blank canvases. You can leave them simple, with just the taste of the dough, or you can play at painting them with colorful frosting. It is a recipe that forgives mistakes. If the dough breaks, we put it back together and roll it out again. If the shape comes out a bit crooked, we say it’s a cookie with personality. The important thing is the fun in the process.
Don’t worry about huge lists or strange names. To make this recipe work, the secret is simplicity. We are going to use things you buy at the corner store.
Now, let’s make it happen. Imagine we are together in the kitchen. First, grab a large bowl. Put in the soft butter and the sugar.
Now, mix. You can use an electric mixer if you have one, but if not, use a wooden spoon or a strong spatula and a firm arm! Mix until it turns into a pale and fluffy cream. This is important because it makes the cookie light.
After that, add the egg and the vanilla. Mix again until everything is well combined. Now, slowly add the flour mixed with the baking powder and salt. Don’t dump it all at once so you don’t make a mess. Add a little and stir.
There comes a time when the spoon isn’t enough anymore. It’s time to use your hands! Wash your hands well, dry them, and mix the dough with care. You don’t need to knead it like bread, okay? Just squeeze it until it turns into a smooth ball that doesn’t stick too much to your hand. If it’s sticking a lot, put a tiny bit more flour, but be careful not to overdo it and make the dough dry.
Here is the “trick” that many people get wrong. The dough needs to rest. Since we handled it and it has butter, if you put it in the oven now, it will melt and turn into a puddle.
Divide the dough into two parts, wrap it in plastic wrap (or put it in a clean freezer bag), and put it in the fridge. Leave it there for at least one hour. Use this time to wash the dishes you dirtied or drink a coffee. The dough needs to get firm again.
When the dough is firm, turn on the oven. Leave it at a medium temperature (180°C or 350°F). It is important that the oven is already hot when the cookie goes in.
Sprinkle a little flour on a clean table. Take the dough and use a rolling pin to open it. If you don’t have a rolling pin, use a smooth glass bottle that is very clean (remove the label). Roll out the dough until it is the thickness of a pinky finger lying down. Not too thin (it burns fast), not too thick (it stays raw in the middle).
Now is the time for fun! Use cookie cutters with Christmas shapes. If you don’t have cutters, use the mouth of a glass to make circles, or use a knife to cut squares and triangles. The flavor will be wonderful either way.
Place the cookies on a baking sheet. You don’t need to grease the pan too much because the cookie already has plenty of butter, but if you want to be safe, put parchment paper on the bottom.
Put the tray in the oven. Now, pay full attention! Cookies bake very fast. Keep an eye on them. Between 8 to 10 minutes is usually enough.
How do you know if it’s ready? Look at the edges of the cookie. If the edges start to get lightly golden, take them out immediately. The middle will still look a bit soft, but that is normal. It finishes firming up while it cools down. If you let it all get golden, it will be too hard later.
Let them cool on the tray for about 5 minutes before removing them, otherwise, they might break.
Your Homemade Sugar Christmas Cookies are already delicious just like this, but if you want to decorate, it’s easy. You can make a simple icing by mixing powdered sugar with a tiny bit of milk or lemon juice. Drip the liquid slowly into the sugar and stir until it turns into a thick white “glue.”
If you want color, use food coloring. Call the kids, the nephews, or do it yourself. Paint, put colorful sprinkles on top while the icing is wet. It doesn’t need to be perfect, like in a magazine. The beauty is seeing that it was made by hand.
Sometimes, things don’t go as planned, and that’s okay. Here is some help: